Getting a new roof is a major investment, and it’s one of the biggest maintenance tasks you can have done on a home. With that being said, it’s not done all too often, because roofs are designed to last for decades. So, you obviously want to know that the job is being handled right and that you’ve chosen the best roofing contractor possible.
Here you will learn what goes into a roof installation of a new roof and what are the steps your roofing team needs to be following throughout the process.
1: Roof Removal
Naturally, you can’t get a new roof if the old one is still on there. So, the team will start by removing your old roof layer by layer. This includes peeling off the old shingles, or whatever material your roof’s outer layer was made of.
This is not a job you want to try on your own, because it is one of the most dangerous parts of roof installation. Roofs are already difficult to walk on, and as you remove shingles, that becomes a bigger problem. Also, your sheathing or framing might be weak in certain areas and require replacement. Without knowing how to navigate that issue, you could be walking on poorly-supported wood.
2: Evaluate Sheathing and Framing
Once your shingles are removed, and the team can get a good look at the core components of your roof, they’ll evaluate everything underneath it. Mostly, this means the sheathing and framing. The team will look for decay in the plywood or wooden beams that make up the roof, determine whether or not any pieces have gotten a bit weak with age or if fasteners have come loose, and then move in to repair those problems. The roofing project cannot go on until these issues are addressed.
3: Waterproofing
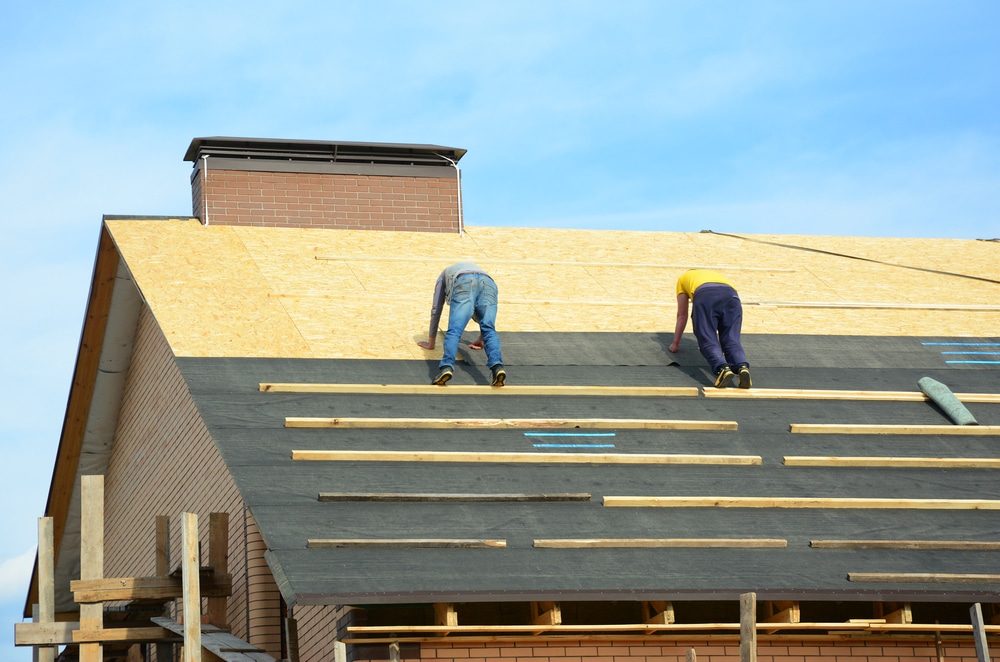
This is the perfect time to start adding a water barrier. This is a waterproof layer that goes around the edge of the roof to seal up the most likely source of leaks, and it’s nailed down before the shingles go on. This is key to prolonging the life of your roof and keeping issues from popping up later on.
4: Drip Edge Installation
Roofs are exposed to a ton of water from all directions because they’re practically the only part of a house that comes into frequent contact with rain. The water barrier does a good job, but a “drip-edge” is required on top of that to prevent water from sliding off the barrier and creeping behind the siding.
5: Installing the Underlayment
The underlayment is kind of like an insulation layer that goes in your walls right before the last layer goes up. Except, instead of keeping the heat in, it’s designed to fully waterproof the roof. It goes from edge to edge, and it’s nailed down to keep it in place for decades.
6: Installing the Shingles
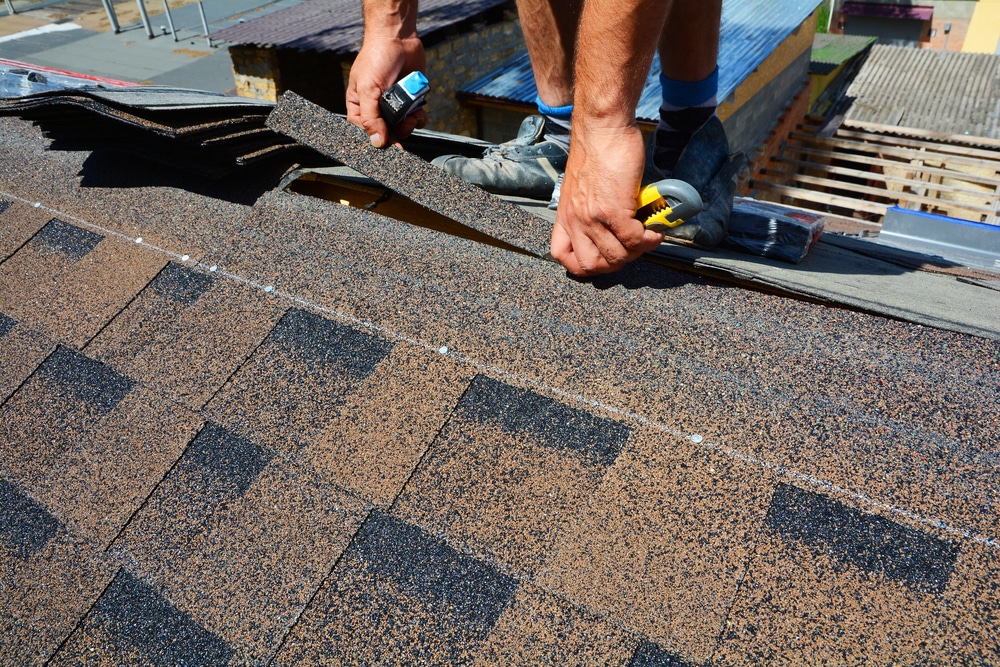
Now, the project is almost finished. It’s simply up to the team to start layering your shingles on top of the various waterproofing features. However, they don’t just layer the shingles on and call it a day. They should also go through and paint the exposed parts of roof pipes and other details to create a uniform look on your roof.
7: Cleaning
Your roof is done at this point, and all you should have to worry about is paying your financing off on time each month. However, the team’s job isn’t done. A professional team will spend an hour or so cleaning up after itself and making sure your yard looks just as good as it did before it arrived and started chucking shingles and materials everywhere. This includes checking for nails, picking up waste materials, cleaning up dust and other issues, and removing their equipment.
Your yard shouldn’t look like a tornado just came through if you’re dealing with real pros.
So, if you want your new roof installation to be done the right way, contact A&M Premier Roofing, the most trusted roofing company in the Raleigh & Charlotte metro areas!


0 Comments